Experiments
Experiments allow you to set up a head-to-head against two or more tag configs to test their effectiveness. Don't know what would perform better on your site; two MPU units spaced out or one double-mpu unit? Now you can get your answer!
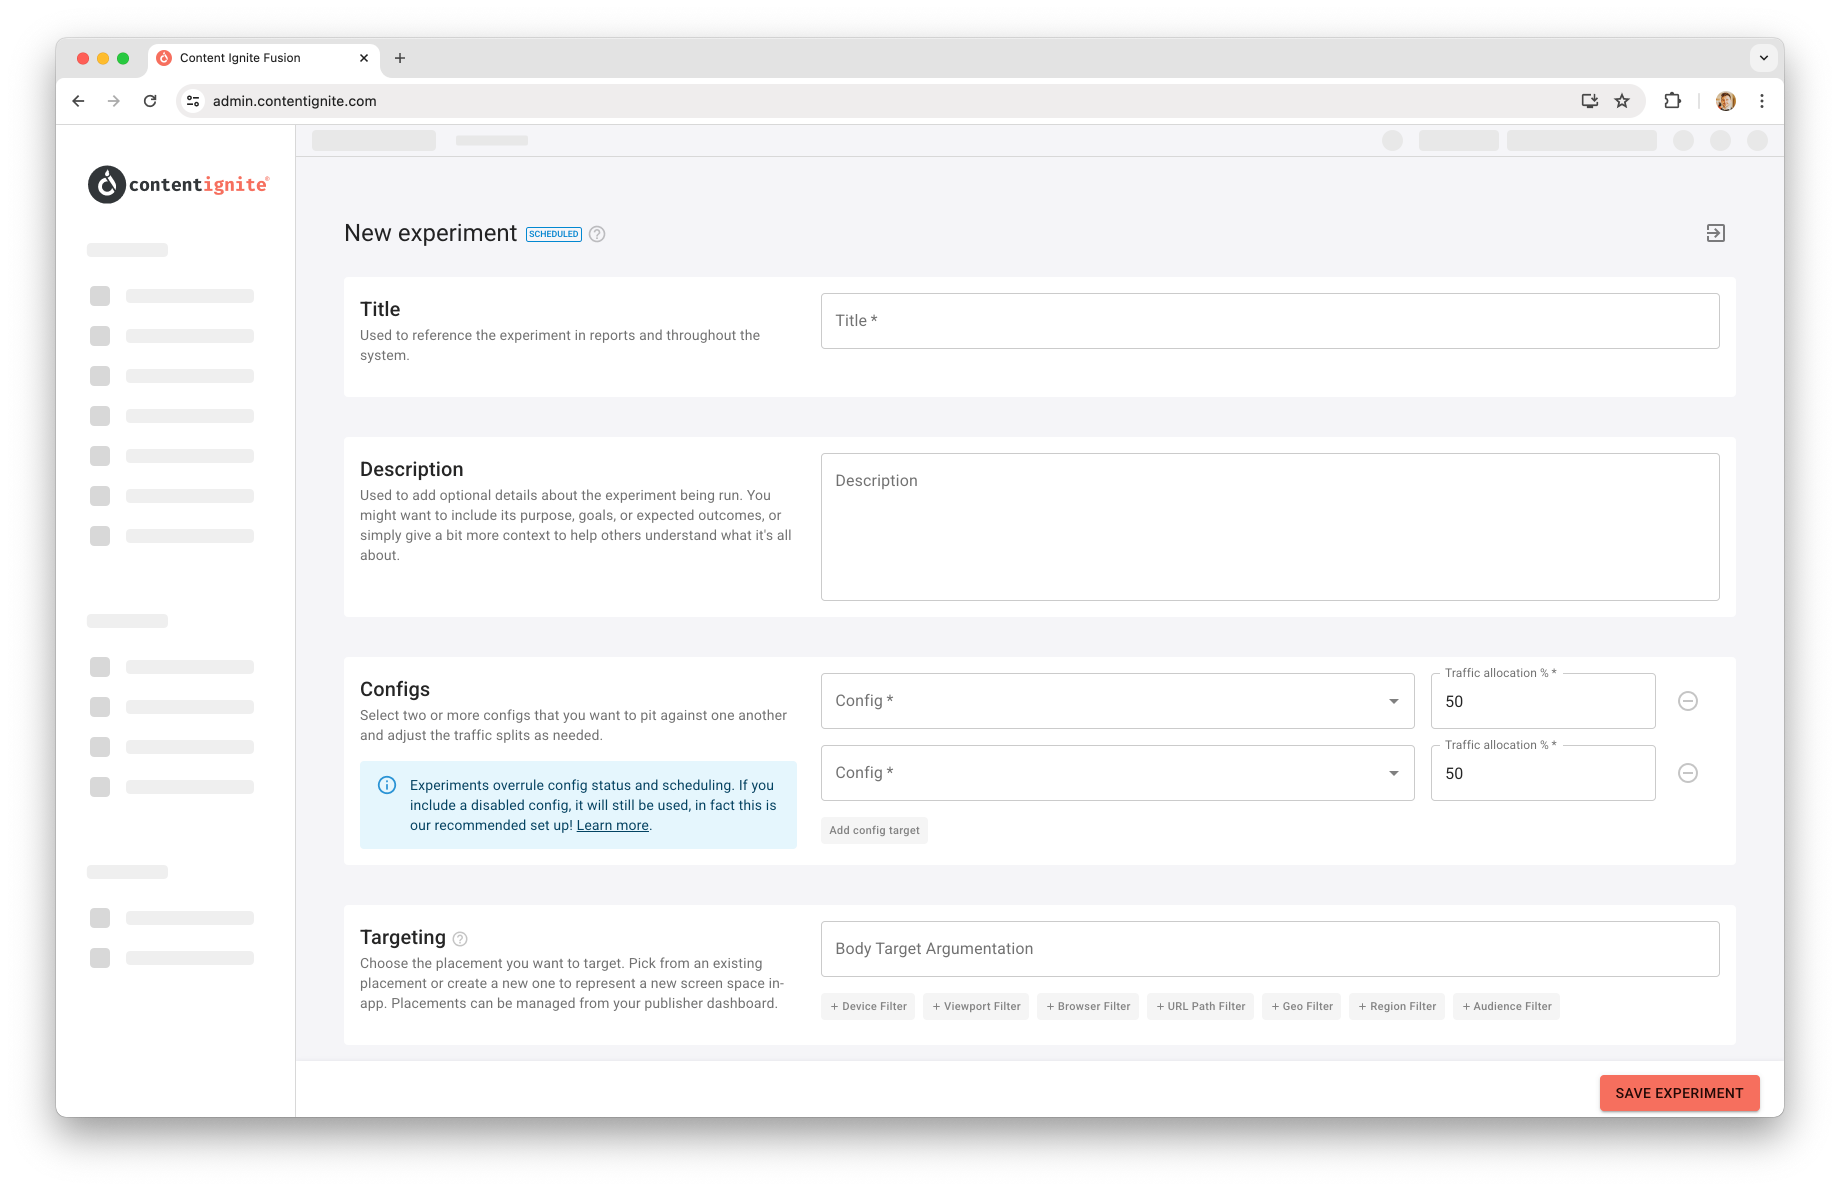
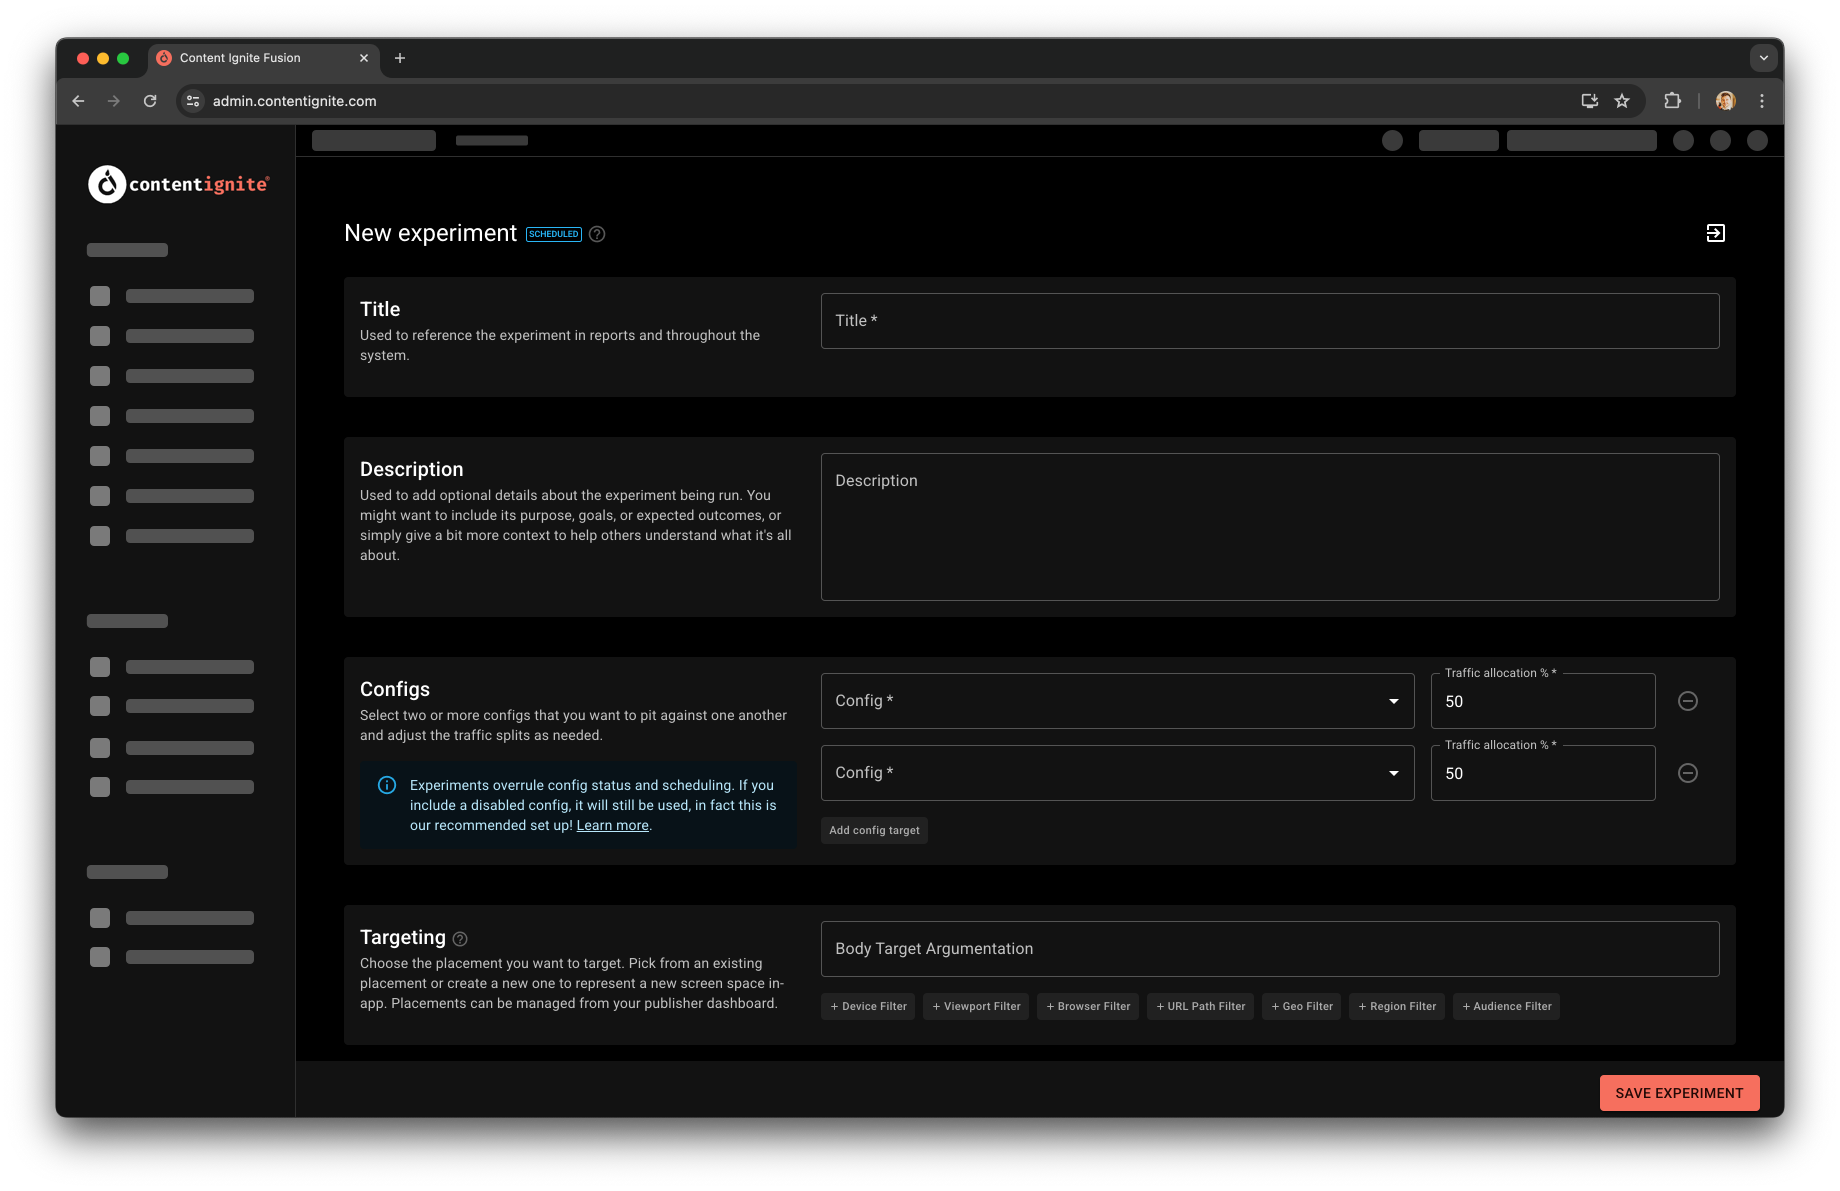
Config selections
To run an experiment, simply set up your tag configs as needed. Importantly, you don't need to enable them. When an experiment runs, the winning config will be enabled for that users session (if it is not already), and the losing configs will be disabled.
For example, say you have an In-image unit with "In" image targeting, enabled and in active use across your site, but you think "Under" image targeting might be preferred by your users, but want to know any potential revenue impact.
You can do so by duplicating your existing in-image tag config, updating the targeting to "Under" and leaving the config disabled.
When you create your experiment you will be able to select the two configs, and during the experiments lifetime your live config will be disabled as needed and the disabled config enabled when needed! This way, you could perform the experiment on a small amount of traffic, e.g. 20% for each, when 60% of the traffic defaults to the existing "in" image targeting and isn't measured as part of the config.
Scheduling
Set the start and end date for an experiment as needed. Dates and times are set in your local timezone, with UTC values shown underneath for ease.
You can leave the end date blank to have the experiment run indefinitely until you manually terminate it. We recommend you run experiments for a minimum of two weeks as any new units or new sizes you introduce via experiments, will be seen as new inventory and will go through a ramping phase as buyers slowly start to increase bidding.
Note: Experiments that are live become locked, and can only have their end date adjusted!